How to Securely Delete Files Using Eraser
Deleting a file permanently is harder than most people realize. That’s good news when you want to recover a file, but bad news when you want to destroy confidential information. Thankfully, a free and effective program called Eraser helps ensure the complete and permanent deletion of files.
The reason why information doesn’t completely disappear when you empty your computer’s recycle bin makes a lot of sense. When you delete a file, the computer simply marks the spot on the hard drive as available, which takes much less computing power than actually writing over the information.
As time goes on, the computer writes new information over the old information and the possibility of reconstructing the old file diminishes. In the meantime, the file remains theoretically recoverable.
Businesses need a more reliable way to securely delete data rather than waiting for a computer to overwrite deleted files by chance. Instead, many organizations rely on software to erase any trace of the unwanted file. One highly regarded secure-deletion program is called Eraser, and it’s available for free. Here’s how to use it.
Step 1: Download Eraser
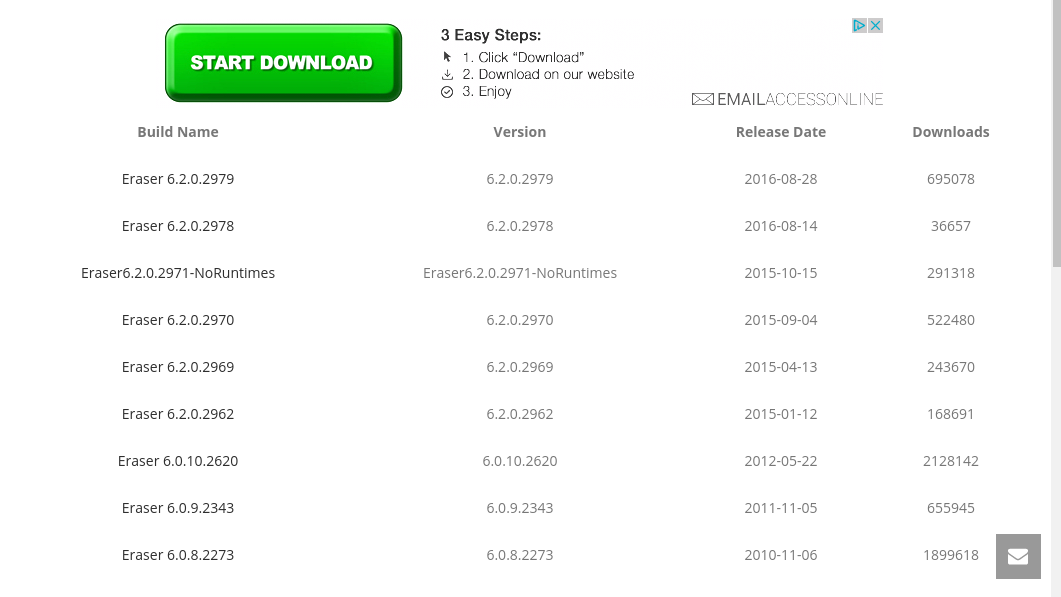
Go to Eraser’s Download page and find the most recent version of the tool. After you click on the version, you will be taken to SourceForge, where the download will take place.
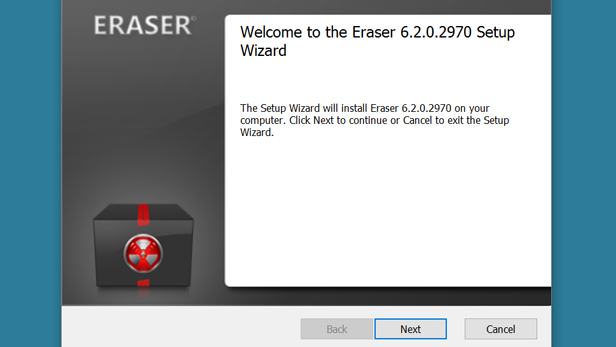
Step 2: Find Eraser in your download file and double click it to install.
Eraser will take a couple of minutes to install.
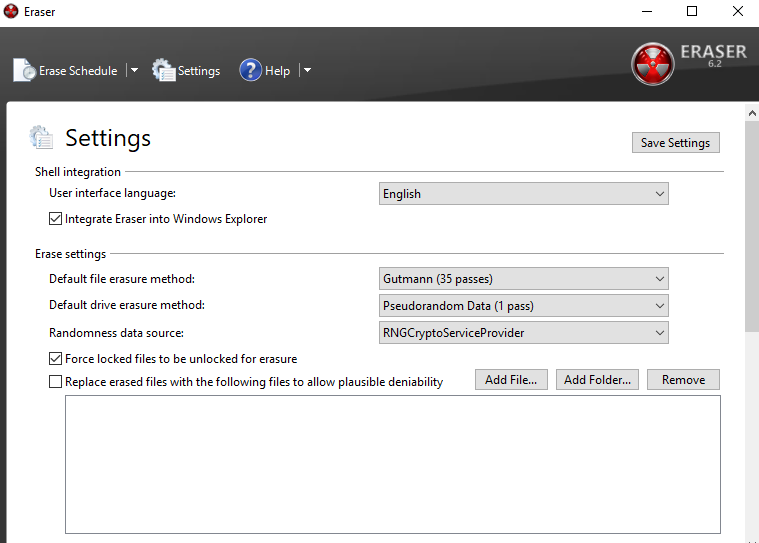
Step 3: Choose your default options in Settings.
Click on Settings, then choose a default erasure method, such as DoD (with three overwriting rounds) or the Gutmann method (with up to 35 overwrites). All of the methods offer secure deletion after which a file cannot be restored with current technology.
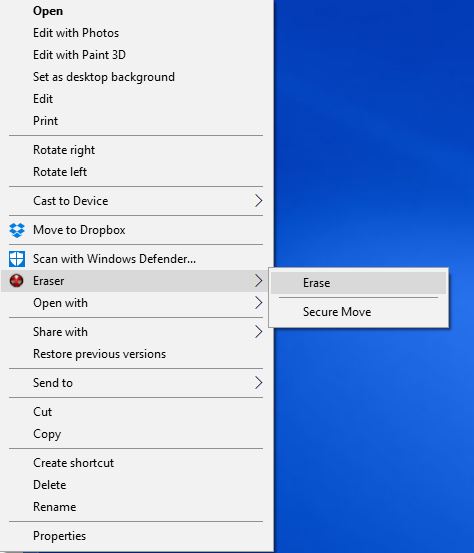
Step 4: Right-click on a file to permanently delete it.
Find Eraser among the options, then click Erase. Follow the prompts and Eraser will securely and permanently delete your file. There is no way to retrieve a file once you have erased it with Eraser.


